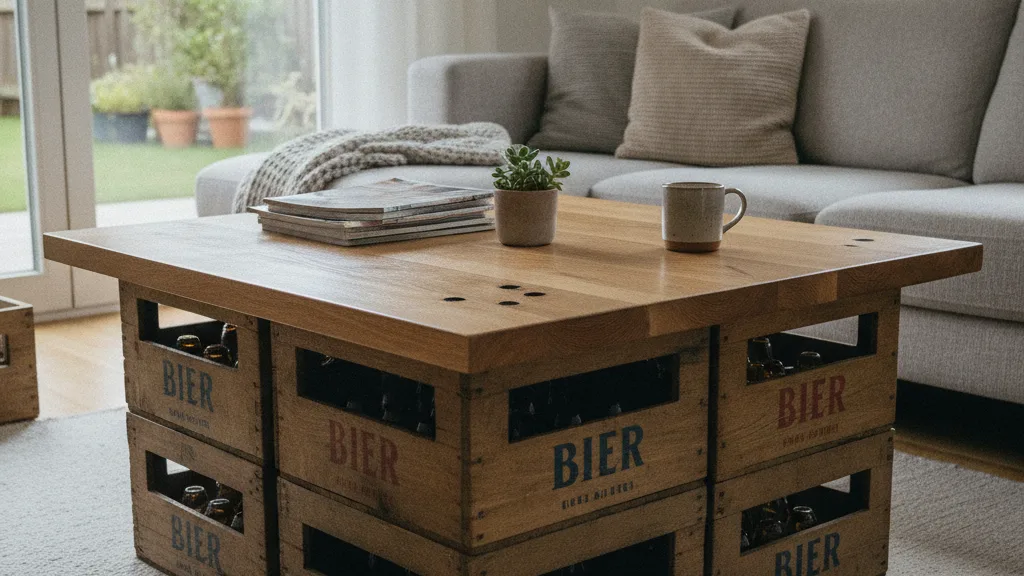
 AI-generated
DIY Beer Crate Table with Wooden Top
Upcycling with Style
A beer crate table is one of the most charming upcycling projects for a balcony, living room, or garden. Rather than letting an old drinks crate gather dust in the cellar, a carefully finished wooden board gives it a whole new look — as a stylish coffee table or side table.
The principle is beautifully simple: a narrow wooden frame is mounted to the underside of the board, fitting snugly over the crate. The board sits securely on the crate without a single screw going into it. This means the table can be fully disassembled at any time, and the crate stays completely intact.
What you need
This project is deliberately beginner-friendly. No carpentry training is required — a jigsaw, a cordless drill, and some sandpaper are enough. Research points to multiplex (15–18 mm) or a solid-wood board in beech or oak as the best choices for the tabletop: both are stable, warp-resistant, and easy to work with.
We've researched the most common build guides and summarised the key steps, material tips, and practical advice for you.
What you'll need
Tools and materials for this project – from our vetted catalog.
Drinks crate (standard Euro crate)
Clean and sturdy. A standard Euro crate measures approx. 40×60 cm on the outside — measure before cutting.
Multiplex board 15–18 mm (birch or beech)
Stable and warp-resistant. Alternatively a solid beech or oak board. Avoid soft pine — it scratches easily.
Square timber 40×40 mm
For the underframe. Strip height should be roughly half the height of the crate.
Wood screws 3.5 × 40 mm
For attaching the frame to the underside of the board. No glue needed — keeps the table disassemblable.
Sandpaper grit 80 / 120 / 180
Do not skip the coarse→medium→fine sequence — this is what produces a truly smooth surface.
Wood oil or hard oil
Protects the wood from moisture, water rings, and stains. Apply at least 2 coats.
Jigsaw
For cutting the board and frame strips to size, and for rounded corners. Use a wood-cutting blade.
Cordless drill/driver
For pre-drilling pilot holes and driving the screws.
Random orbital sander
Optional but recommended for an especially even and smooth surface finish.
Tape measure or folding ruler
For precisely measuring the crate and marking the cut dimensions.
As an Amazon Associate I earn from qualifying purchases.
Step by step
Follow the guide from top to bottom – at your own pace.
Measure the drinks crate
Measure the exact outer dimensions of your drinks crate with a tape measure or folding ruler and note down the length, width, and height. A standard Euro crate typically measures approximately 40×60 cm on the outside.
Tip: Measure at several points — older crates can be slightly warped. Always use the largest measurement as the basis for your frame.
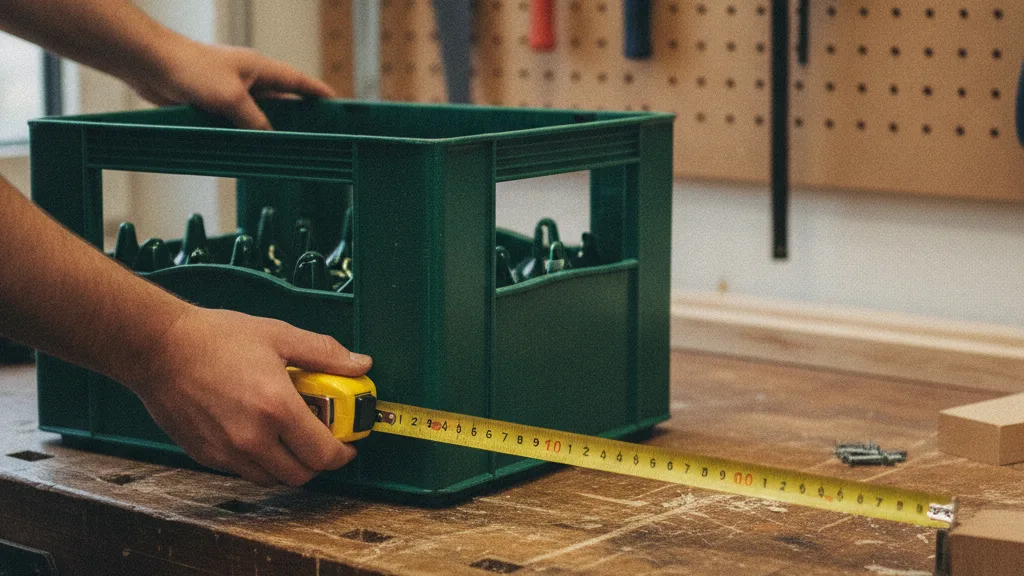 AI-generated
Cut the wooden board to size
Mark the desired size of the tabletop on the board. You can plan an overhang of approx. 5–10 cm per side beyond the crate edge, or cut the board flush with the crate dimensions — it is a matter of preference.
- Place the board on two sawhorses or lengths of timber so the blade can run through freely underneath
- Saw smoothly along the marked line with the jigsaw
- Guide the saw without pressing — let the blade do the work
Wear safety goggles! Wood splinters while sawing can reach your eyes.
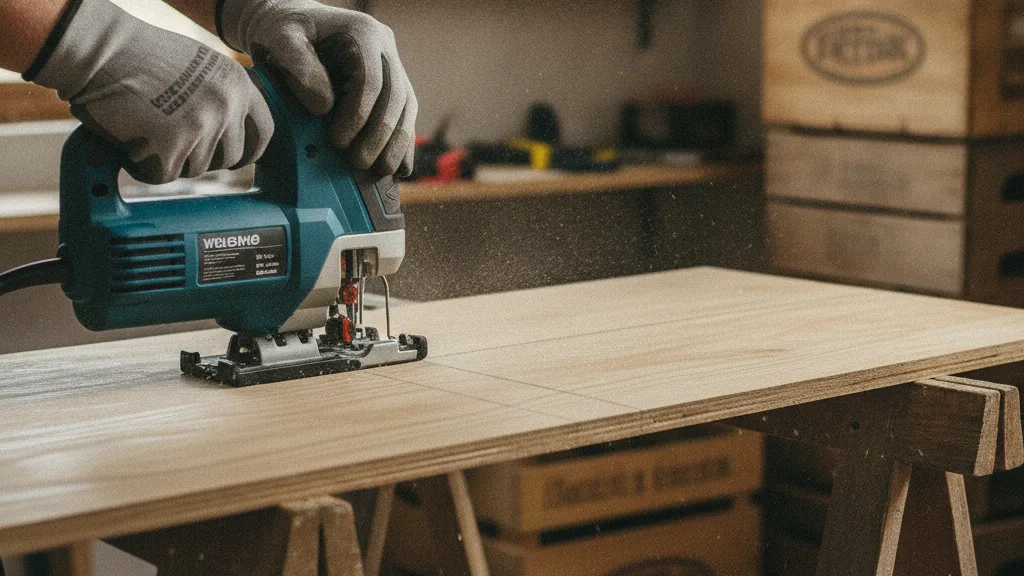 AI-generated
Round off the corners
Sharp board corners are a safety hazard and look less refined. Round off all four corners of the tabletop:
- Place a roll of tape, a small glass, or a coin as a template at each corner
- Trace the radius with a pencil
- Cut the curves slowly and smoothly with the jigsaw
A radius of 2–4 cm gives a pleasantly modern, high-quality appearance.
Cut the frame strips
The frame on the underside of the board holds the tabletop in position on the crate. The inner dimensions of the frame must be precise.
Formula: Frame inner measurement = Crate outer measurement + 1–2 mm clearance per side
Example for a 40×60 cm crate:
| Part | Inner measurement | Qty |
|---|---|---|
| Long frame strip | approx. 60.2 cm | 2 |
| Short frame strip | approx. 40.2 cm | 2 |
Cut the four strips to size. For a beginner project, simple butt joints at the corners are perfectly fine. For cleaner corner connections, the ends can be cut at 45° (mitre).
The strip height should be roughly half the height of the crate — this guides it well and prevents it from jamming.
Pre-drill the pilot holes
Always pre-drill before screwing — without a pilot hole, the wood will split or the screw will strip.
- Drill bit diameter = approx. 70% of the screw diameter (e.g., a 2.5 mm bit for a 3.5 mm screw)
- Mark the screw positions: at least 2 points per strip, approx. 15–20 cm apart
- Drill vertically through the board thickness and into the strip below
- Optional: use a countersink bit to slightly recess the screw heads for a smooth board surface
Keep the drill as vertical as possible when making pilot holes.
Attach the frame to the underside of the board
Now the frame is permanently fastened to the underside of the board.
- Place the board upside down on a flat surface
- Position the four frame strips so the frame's inner dimensions sit centred on the board
- Test the fit briefly on the real crate before screwing everything down for good
- Drive the screws home evenly — do not overtighten or the wood will crack
The finished frame should slip on and off the crate easily — neither sticking nor wobbling.
Sand the wooden board
Careful sanding is the secret to a truly beautiful wood surface.
Sand in three passes:
- Grit 80 — coarse, removes saw marks and rough irregularities
- Grit 120 — medium, smooths the surface further
- Grit 180 — fine, produces a silky-smooth finish
Always sand along the grain direction — sanding across the grain leaves visible scratches.
Pay special attention to the edges and the rounded corners with 180-grit — otherwise splinters will form there.
After sanding: wipe off all dust with a slightly damp cloth and allow to dry completely before applying oil.
Oil or varnish the wooden board
Surface treatment permanently protects the wood from moisture, water rings, and stains.
Step by step:
- Make sure the board is completely dust-free and dry
- Apply the first coat of wood oil evenly with a brush or clean cloth, working along the grain
- Wipe off any excess oil after 10–15 minutes with a cloth
- Allow to dry completely (check the manufacturer's instructions — typically 4–8 hours)
- Once dry, lightly sand the surface once more with 180-grit paper (the first oil coat raises the wood fibres slightly)
- Wipe off the dust, then apply the second coat of oil
For an even harder surface, clear varnish can be used instead — it offers better protection, but looks slightly less natural than oil.
Practical tips for an even better result
- Attach rubber feet or felt pads underneath the drinks crate — this protects the floor and prevents the table from sliding.
- Stack a maximum of 1–2 crates: more crates significantly increases the tipping risk. Always check the footprint and stability.
- For a natural colour tone, the wood can be treated with a wood stain in your desired colour before oiling.
- Always sand along the grain direction — cross-grain sanding leaves visible scratches even under fine-grit paper and oil.